
How To Plant Bare-Root Roses
I come from the world of annual vegetable growing, and in my first few years of growing flowers I avoided scary, pristine, expensive plants like roses for fear I would kill them all, and quickly. But now I’m growing more and more for my own wedding floral design and the time has finally come to grow garden roses! Sweet, fluffy, sun-loving, delicious garden roses in creams and peaches and pinks and yellows and one magenta for good measure!

Still a bit nervous, I over-thought and over-researched the whole process, both online and in books as well as asking a million questions of my old friend Zoe who just last year planted 400 glorious roses at Front Porch Farm , and of the sweet rose queen Fallon Shea at Garden Valley Ranch. I took all that advice, rototilled it all up, inverted the layers, screened some of the online stuff right back out (I have an aversion to old wives tales in the garden), and shaped it all into the right plan for B-Side Farm. Hereby accepting comments below on how to do it better next time - I’m all ears!
Step 1: Gather Ye Materials (While Ye May)
You’ll need your glorious bare root roses (soaked in water overnight to get those roots ready), tons of compost, any amendments you'll want to add because now's your chance (see step 5), good long shovels, thick GLOVES and resignation to accept the new scrapes and scabs you’re about to incur as a rose farmer. Also, gopher wire if you’re plagued like I am, and your favorite 5-gallon bucket.

Step 2: Prep Yer Beds
In my climate of warm, winter-wet zone 9B, I had to prep my beds in the fall in order to have any chance of not completely decimating my soil structure by digging in the mud. Last spring, I had added compost to the field, disced it in, shaped raised beds, and done one quick round of rototiling to three beds set aside for roses. I then quickly threw black sheet plastic on top of them and secured it with staples. This was an eye-sore in the middle of my field all year, but was based out of practicality and out of a deep self-knowledge. By this, of course, I mean that I never would have stayed on top of the weeds if I had left bare soil. A better idea would have been to seed one, two, even three rounds of cover crop and mix them into the soil to build organic matter. But I’ve long since abandoned any dreams of doing everything perfectly.
So, come November, I pulled off the plastic, trucked in more fresh compost, spread it in a thick 3” layer on top of each bed, and borrowed a broadfork in order to really make sure that sub-layer of soil got broken up a little. I then re-covered the beds with plastic, and good thing because it rained for the next month.
Come to think of it, I still have that guy’s broad fork. Don’t lend me anything, ever.
Step 3: Dig Yer Holes
I dug holes about 4 feet apart to accommodate the spread of most of my David Austin varieties. Some could get away with being a little closer, and some of the real ramblers would appreciate more space. But I opted for a happy medium while erring on the side of a little more space for more air flow. As we know, fungal diseases are a known enemy to roses and I don’t want to take any chances.
The holes we dug were about the size of 5-gallon buckets. I would recommend that as a minimum, if not a bit bigger.
Step 4: Optional: Arm Ye With Gopher Wire
Gophers, man. Many of you won’t have to worry about this, but if you’ve seen lots of pressure on your land and want to protect your new investment, it’s worth thinking about. Seeing as the roses are planted so far apart, I decided to just line each hole with wire instead of the whole trench. I was planning to cut the wire and fold it together into makeshift baskets, until my buddy Denise from The Plant Barn and Gifts told me that I could just stuff big pieces into the holes instead. Brilliant!
So I cut large rectangles of gopher wire that would stand a few inches above each hole, and pressed them into each hole with my feet, a bucket, and then eventually, my feet in a bucket. Rocket science! This is the first and last time I'll upload a closeup of my thigh to this (or any) website.


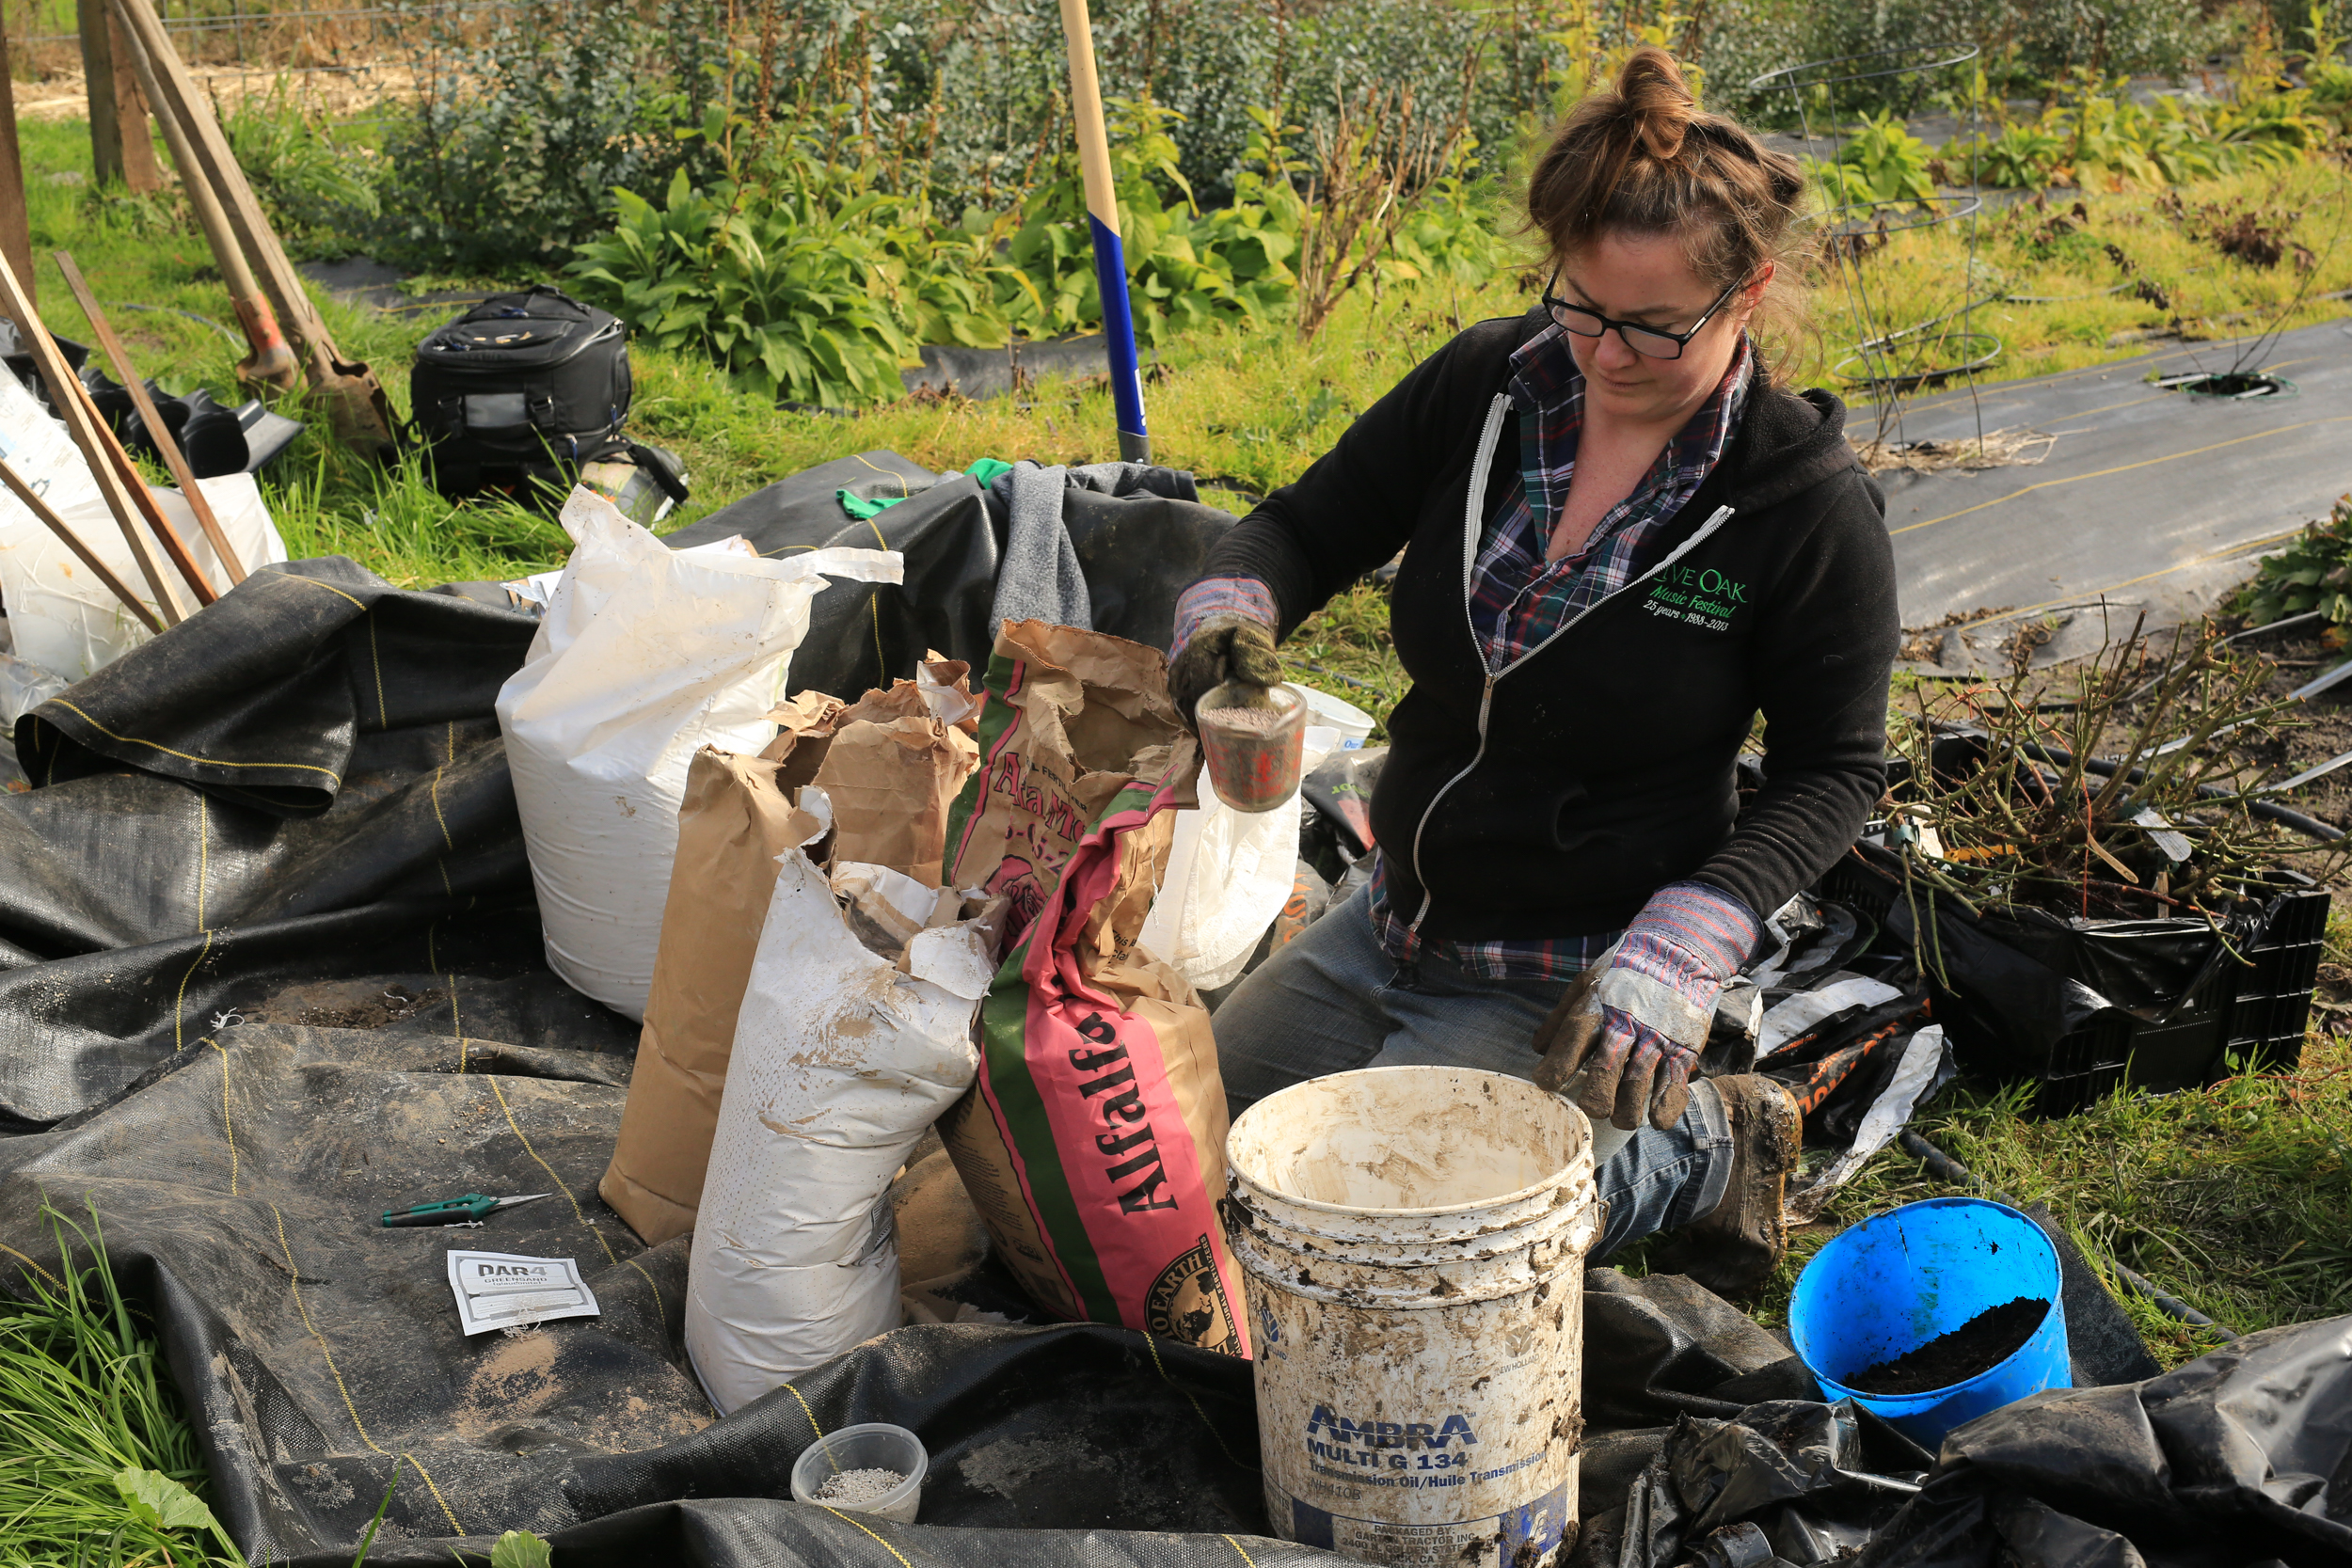
Step 5: Time to Mix Amendments
Here’s where it’s important to understand your soil. Like a good UCSC-trained ecologically-minded farmer, I get my soil tested every year so I know what I’m working with. There’s only so much you can tell just by looking at it.
Once you know what your soil is rich in and where it’s lacking, you can make a plan of what to add for your precious roses. For a farmer like me (read: sometimes lazy or just full of blind faith), the things I might normally try to get away with for other plants just won’t cut it for roses. These guys are heavy feeders, and you really only have one shot to amend the soil in such a substantial way.
There is all sorts of advice out there, and I heeded the smartest things I read and heard, along with sage advice from Zoe. She took a pretty intensive approach to amending her rose beds and I followed suit. If your soil is more balanced, you can get away with some good ole compost and your fertilizer of choice - word on the street is that master rosarian Orin Martin from the UCSC Farm & Garden plants his roses with just compost, bloodmeal, and Sustane. (Though it’s worth noting that the man has soil like rich chocolate cake, comparing our approaches is not an apples to apples kind of thing).
Rose Planting Recipe at B-Side Farm
Gypsum - Rate of 3 pounds per 100 square feet worked into bed in fall
Compost - A 3” layer worked into the bed in fall, then about one 5-gallon bucket per planting hole
Greensand - 1 cup per hole
Bonemeal - 1 cup per hole
Alfalfa Meal - 1 cup per hole
Glacial Rock Dust - 1 spoonful per hole
Mycorrhizae - 1 spoonful on roots of each rose
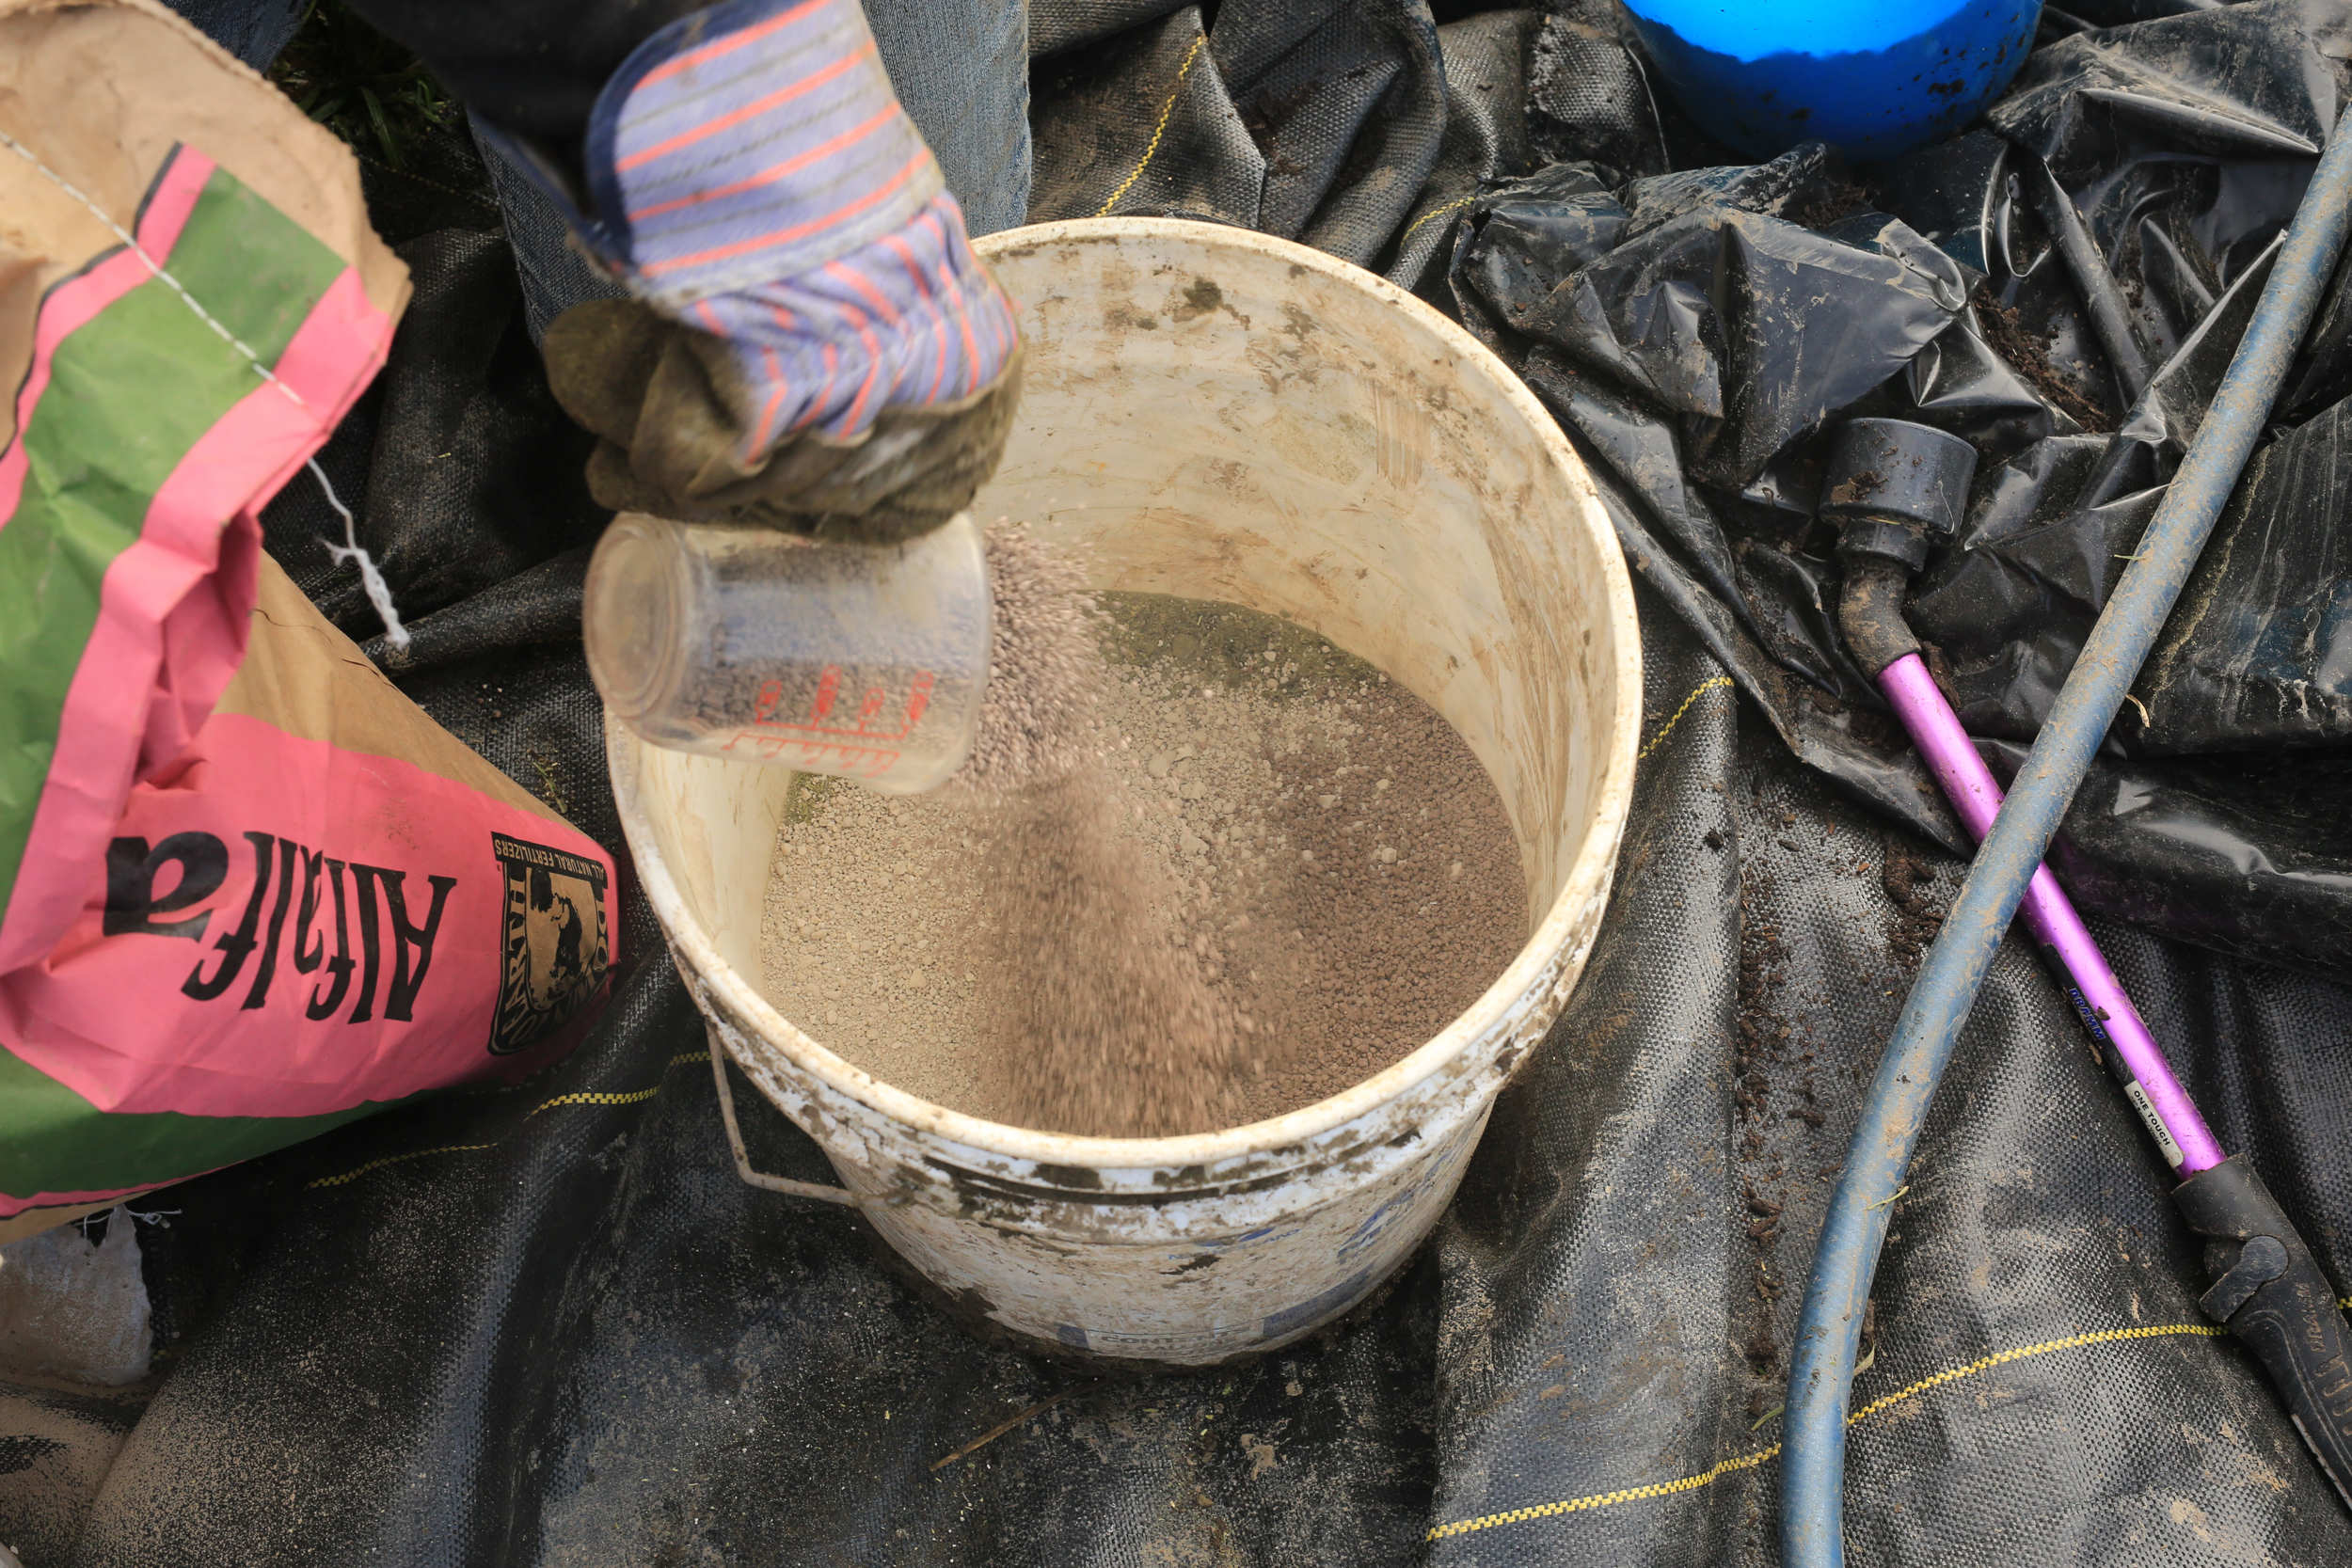
We mixed everything together into buckets with some compost, doing enough for 5 roses at a time and returning to mix the next batch after the small plant-out. Not the most efficient but not bad for a small scale operation. Remember to wear a mask!
Step 6: Prepare a Cone
The goal in planting these roses is to spread out the roots as much as possible in the bottom of the hole. Since the holes we dug were both pretty wide and deep, we needed to replace some soil and compost in the bottom of the hole, on top of the newly laid gopher wire, before setting the rose in. I read somewhere that it’s helpful to pre-fill the hole with some soil in a cone shape so that the rose roots can splay out around it. This is one of those instances where I felt silly for not thinking of it first.

Step 7: Plant Away!
Hopefully your holes aren’t filling with water from saturated soil as mine were, and this process will be a bit easier for you. Basically, we sat the rose on top of the cone, sprinkled a microrhizzae on top of the roots (careful to always do it over the hole so that any excess made it inside), and then began filling the hole with soil, compost, and scoops of mixed amendments. We actually found it easiest to have two people work on each plant, so that one could shovel soil into the hole while the other scattered amendments and compost as the hole started to fill up. This worked well enough to get everything nice and mixed together. A perhaps more efficient alternative would have been to pre-mix not only the amendments, but the compost and some some soil as well. Then you could essentially dump the contents of pre-mixed wheelbarrows, buckets or piles into the hole.

You want to be careful to make sure the grafting union sits right above the soil level. For us this sometimes took a bit of adjusting (either pulling the rose up or covering it a bit more). As these photos show, while awkwardly cramped around our first few roses planted, we decided to use a wooden stake to make sure we could visualize the correct level for the grafting union. This step got left behind after the first few dozen planted, when the crew became one with the process (or as the sun began to set, who knows).

Step 8: Mulch
Many are the reasons to mulch your perennials, especially roses. They’re thirsty, so you’ll want to hold in as much water as possible. They’re in the ground so early in the year that spring weeds will absolutely engulf them if left in bare soil. Mulch!
Step 9: Irrigation
Coming from field-scale annual planting means that I’m most at home with t-tape, which doesn’t translate well into the wild world of woody perennials that are both planted so far apart and will be in the ground for so long. Because roses are both so thirsty and so far apart, I’ll be using thicker poly tubing with in-line emitters, one emitter on either side of the rose.
Step 10:
Watch your roses grow, become 20% richer, and 30% happier (calculations lacking citation as of yet. Ask me in a year).

A huge thank you to Roger Elliott Photography for your friendship, enthusiasm, and all photos from the day's planting.
Additional shout out's to Eliza for being a bad ass, and Dave for being the best free labor in California (and for raising the dude I'm in love with).